Vegan Sushi Bake Recipe
Introduction
Vegan Sushi Bake is a delicious and comforting twist on traditional sushi, layered and baked to perfection. It’s an easy-to-make dish that combines the flavors of sushi in a warm, shareable casserole form—perfect for casual dinners or entertaining friends.

Ingredients
- 2 cups cooked short-grain sushi rice
- 3 tablespoons rice vinegar
- 1 tablespoon sugar
- 1 teaspoon salt
- 1/2 cup vegan mayonnaise
- 2 tablespoons sriracha sauce
- 1 tablespoon soy sauce or tamari
- 1 small cucumber, diced
- 1 small carrot, shredded
- 1 ripe avocado, diced
- 2 stalks green onions, chopped
- 1 tablespoon toasted sesame seeds
- 2 nori sheets, crumbled or cut into strips
- 1 teaspoon lemon juice (optional)
Instructions
- Step 1: Preheat your oven to 375°F and lightly grease a baking dish.
- Step 2: In a bowl, mix the cooked sushi rice with rice vinegar, sugar, and salt until well combined.
- Step 3: In another bowl, whisk together the vegan mayonnaise, sriracha sauce, and soy sauce or tamari for the spicy mayo topping.
- Step 4: Spread the seasoned rice evenly in the greased baking dish, pressing it down gently to form a compact layer.
- Step 5: Spoon the spicy mayo mixture over the rice layer and smooth it out evenly with a spatula.
- Step 6: Sprinkle the shredded carrots and diced cucumber evenly over the spicy mayo layer.
- Step 7: Bake in the preheated oven for 12 to 15 minutes, or until the top is bubbling and golden at the edges.
- Step 8: Remove the dish from the oven and let it sit for 5 minutes to set slightly.
- Step 9: Top with diced avocado, chopped green onions, toasted sesame seeds, and crumbled or sliced nori sheets. Optionally, drizzle with lemon juice for a fresh touch.
- Step 10: Scoop portions and serve warm, enjoying the layers of flavor and texture.
Tips & Variations
- Use short-grain sushi rice for the best texture that holds together well when baked.
- Adjust sriracha quantity to your preferred spice level or swap for a mild chili sauce if you prefer less heat.
- Add diced mango or pickled ginger on top for an extra burst of flavor.
- For a protein boost, mix in cooked edamame or tofu cubes before baking.
Storage
Store leftover sushi bake in an airtight container in the refrigerator for up to 3 days. Reheat gently in the oven or microwave until warmed through. For best texture, avoid refrigerating the avocado topping; add fresh avocado after reheating.
How to Serve
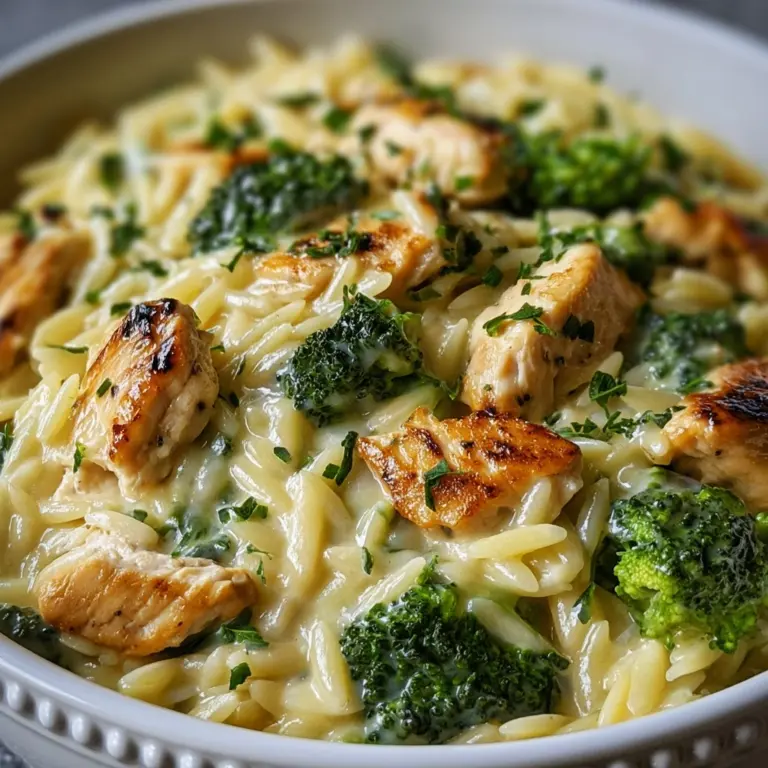
Serve this delicious recipe with your favorite sides.
FAQs
Can I use regular mayonnaise instead of vegan mayo?
Yes, you can substitute regular mayonnaise if you are not strictly vegan. The flavor and texture will still be delicious.
Is it necessary to bake the sushi bake?
Baking helps meld the flavors and creates a warm, slightly crispy top layer. However, you can serve it chilled if preferred, just skip the baking step and assemble as is.
PrintVegan Sushi Bake Recipe

This Vegan Sushi Bake is a delicious, plant-based twist on traditional sushi, layered and baked to perfection. Featuring seasoned sushi rice topped with a spicy vegan mayo sauce, fresh vegetables, and garnished with sesame seeds and nori, this dish offers all the flavors of sushi in a warm, comforting casserole form – perfect for casual meals or entertaining.
- Prep Time: 15 minutes
- Cook Time: 15 minutes
- Total Time: 30 minutes
- Yield: 4 servings 1x
- Category: Main Course
- Method: Baking
- Cuisine: Japanese-inspired
- Diet: Vegan
Ingredients
Rice Base
- 2 cups cooked short-grain sushi rice
- 3 tablespoons rice vinegar
- 1 tablespoon sugar
- 1 teaspoon salt
Spicy Vegan Mayo Sauce
- 1/2 cup vegan mayonnaise
- 2 tablespoons sriracha sauce
- 1 tablespoon soy sauce or tamari
Vegetable Toppings
- 1 small cucumber, diced
- 1 small carrot, shredded
- 1 ripe avocado, diced
- 2 stalks green onions, chopped
Garnishes
- 1 tablespoon toasted sesame seeds
- 2 nori sheets, crumbled or cut into strips
- 1 teaspoon lemon juice (optional)
Instructions
- Preheat and Prepare Dish: Preheat your oven to 375°F (190°C) and lightly grease a baking dish to prevent sticking and ensure easy serving.
- Season the Rice: In a mixing bowl, combine the cooked sushi rice with rice vinegar, sugar, and salt. Mix gently to evenly distribute the flavors without mashing the rice.
- Make Spicy Mayo: In a separate bowl, whisk together the vegan mayonnaise, sriracha sauce, and soy sauce or tamari until smooth and well combined.
- Layer Rice: Spread the seasoned rice evenly into the greased baking dish, pressing down gently to create an even, compact layer.
- Add Spicy Mayo: Spoon the spicy mayo mixture over the rice layer, smoothing it out evenly to cover the rice completely.
- Add Vegetables: Top the mayo layer with shredded carrots and diced cucumbers, spreading them evenly for a fresh, crunchy texture.
- Bake: Place the baking dish in the oven and bake for 12 to 15 minutes, until the top is bubbling and the edges turn lightly golden.
- Rest: Remove the baked sushi bake from the oven and let it sit for 5 minutes to set and cool slightly, making it easier to serve.
- Add Final Toppings: Garnish the top with diced avocado, chopped green onions, toasted sesame seeds, and crumbled or strip-cut nori. Optionally, sprinkle with lemon juice for a zesty finish.
- Serve: Scoop portions of the sushi bake and serve warm for a satisfying vegan meal or appetizer.
Notes
- This recipe is easily customizable with additional veggies like edamame or bell peppers.
- Use gluten-free tamari sauce to make the recipe gluten-free.
- For more heat, increase the amount of sriracha to taste.
- Letting the bake rest after cooking helps hold its shape when serving.
- Store leftovers covered in the refrigerator for up to 3 days; reheat before serving.
Keywords: vegan sushi bake, sushi casserole, plant-based sushi, baked sushi, vegan appetizer, easy vegan dinner