No-Bake Peanut Butter Protein Bars Recipe
Introduction
These no-bake peanut butter protein bars are a quick, delicious way to satisfy your snack cravings while fueling your body. Packed with creamy peanut butter and protein powder, they make a perfect grab-and-go treat for busy days or post-workout refueling.
Ingredients
- 1 ½ cups creamy no-stir peanut butter
- ¾ cup vanilla protein powder (or your favorite flavor)
- ¼ cup honey or maple syrup
- 1 cup rolled oats
- ¼ cup dark chocolate chips
- (Optional: sea salt for topping)
Instructions
- Step 1: In a large mixing bowl, stir together the peanut butter, protein powder, honey or maple syrup, and rolled oats until the mixture is thick, sticky, and holds together easily.
- Step 2: Line an 8×8-inch baking dish with parchment paper. Transfer the mixture into the dish and press it down firmly, spreading it evenly.
- Step 3: Melt the dark chocolate chips in the microwave in 30-second intervals, stirring after each until smooth. Pour the melted chocolate over the peanut butter layer and spread evenly with a spatula.
- Step 4: Place the dish in the fridge for at least 1 hour to allow the bars to firm up and the chocolate to set.
- Step 5: Once set, remove from the fridge and cut into 12 to 16 bars depending on your preferred size. Optionally, sprinkle with sea salt before serving.
Tips & Variations
- For a nuttier flavor, substitute some of the rolled oats with chopped nuts or seeds.
- Use flavored protein powder like chocolate or peanut butter for an extra taste boost.
- Add dried fruit or shredded coconut to the base mix for added texture.
- If you prefer a sweeter bar, increase honey or maple syrup slightly to taste.
- To keep bars vegan, use maple syrup and ensure protein powder is plant-based.
Storage
Store the bars in an airtight container in the fridge for up to one week. For longer storage, freeze them in a sealed container or zip-top bag for up to 3 months. Thaw frozen bars in the fridge before serving. These bars are best enjoyed chilled to keep the chocolate topping firm.
How to Serve
Serve this delicious recipe with your favorite sides.
FAQs
Can I use crunchy peanut butter instead of creamy?
Yes, crunchy peanut butter works fine and adds a nice texture to the bars, but the mixture might be a little less smooth when pressing it into the pan.
Can I skip the chocolate topping?
Absolutely. The bars will still taste great without chocolate, and you can customize them with other toppings like a drizzle of nut butter or a dusting of cocoa powder.
PrintNo-Bake Peanut Butter Protein Bars Recipe
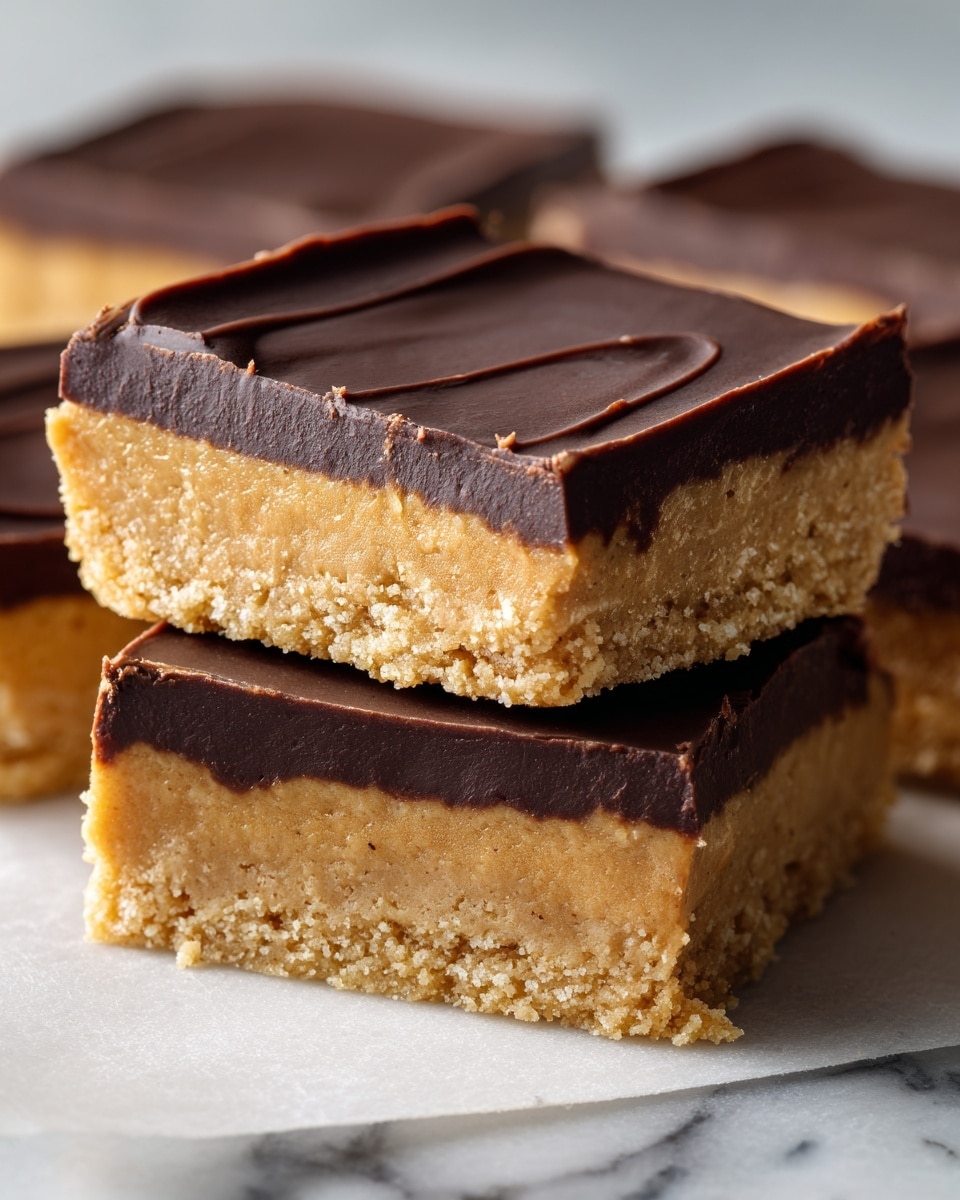
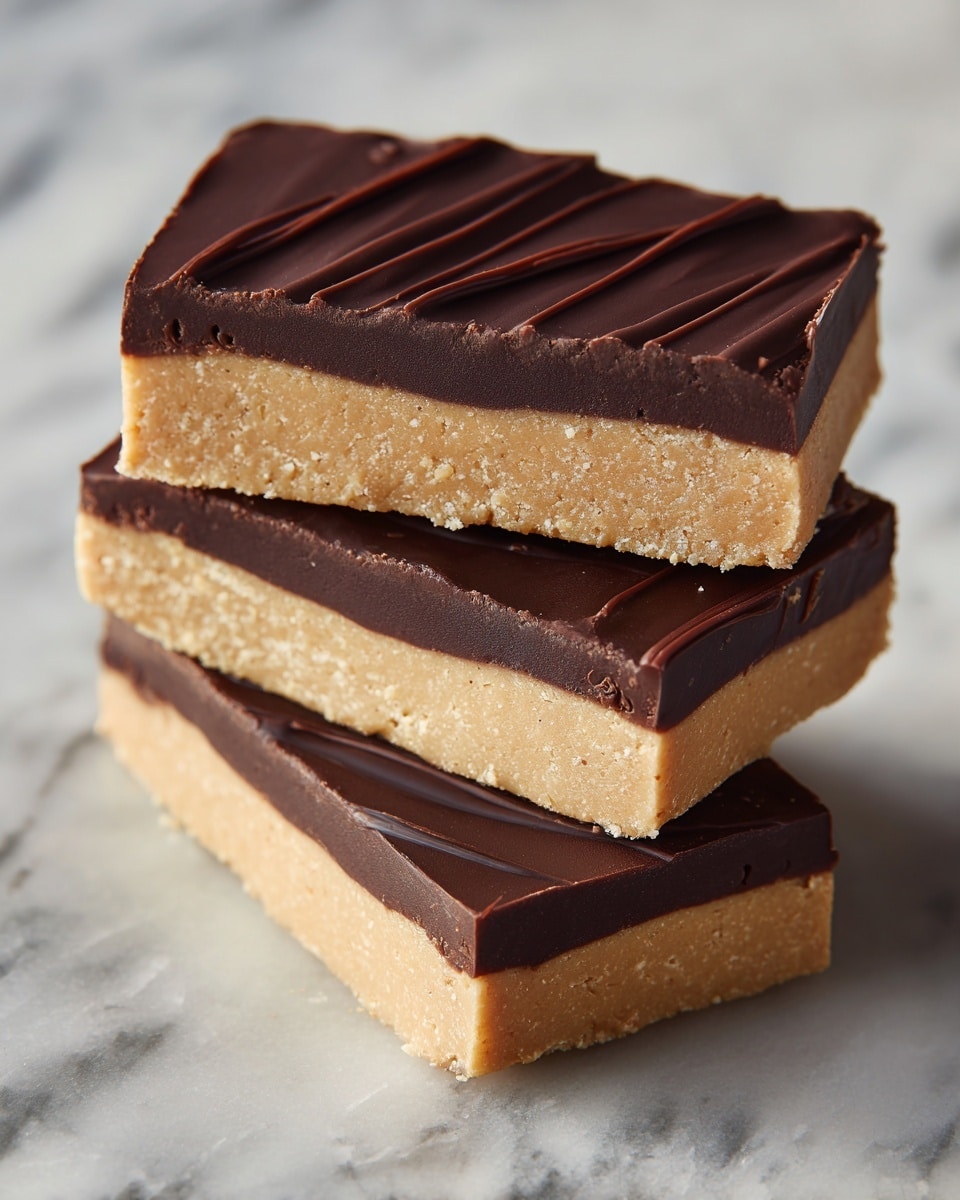
These No-Bake Peanut Butter Protein Bars are a quick, healthy, and delicious snack packed with creamy peanut butter, protein powder, oats, and a layer of rich dark chocolate. Perfect for a pre- or post-workout boost, they require no baking and come together easily in just a few simple steps.
- Prep Time: 10 minutes
- Cook Time: 0 minutes
- Total Time: 1 hour 10 minutes
- Yield: 12 to 16 bars 1x
- Category: Snacks
- Method: No-Cook
- Cuisine: American
- Diet: Low Fat
Ingredients
Main Ingredients
- 1 ½ cups creamy no-stir peanut butter
- ¾ cup vanilla protein powder (or your favorite flavor)
- ¼ cup honey or maple syrup
- 1 cup rolled oats
- ¼ cup dark chocolate chips
- Optional: sea salt for topping
Instructions
- Mix the Base: In a large mixing bowl, combine the creamy peanut butter, vanilla protein powder, honey or maple syrup, and rolled oats. Stir thoroughly until the mixture becomes thick, sticky, and holds together well.
- Shape the Bars: Line an 8×8-inch baking dish with parchment paper. Transfer the peanut butter mixture into the dish and press it down firmly and evenly to create a compact base layer.
- Add the Chocolate Topping: Melt the dark chocolate chips in the microwave by heating in 30-second intervals, stirring after each, until the chocolate is smooth and fully melted. Pour the melted chocolate over the peanut butter mixture and spread it evenly with a spatula. Optionally, sprinkle a pinch of sea salt on top for added flavor.
- Chill & Set: Place the baking dish in the refrigerator for at least 1 hour, allowing the protein bars to firm up and the chocolate layer to set completely.
- Slice & Serve: Once fully set, remove from the refrigerator and cut into 12 to 16 bars depending on your desired size. Store in an airtight container in the refrigerator for up to one week or freeze to extend shelf life.
Notes
- Use no-stir peanut butter for easier mixing and consistent texture.
- You can substitute honey with maple syrup for a vegan option.
- To make bars dairy-free, ensure the protein powder and chocolate chips are dairy-free.
- For extra crunch, consider adding chopped nuts or seeds to the base mixture.
- Store bars in the fridge to maintain texture and freshness, especially during warmer months.
Keywords: no bake protein bars, peanut butter bars, healthy snacks, protein bars, easy no bake recipe, peanut butter protein bars, post workout snack