Halloween Hand Pies Recipe
Introduction
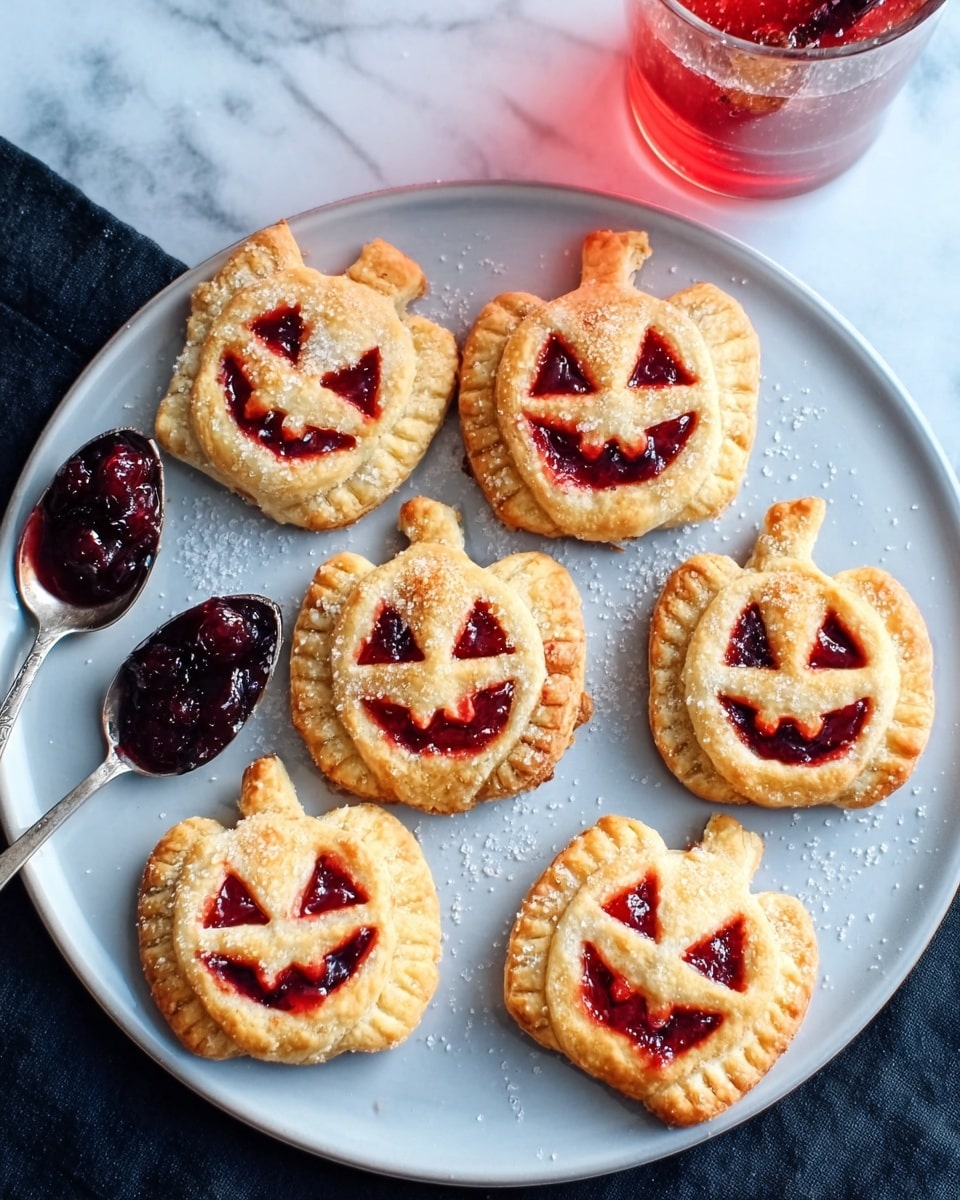
These Halloween Hand Pies are a festive and fun treat perfect for spooky season. With pumpkin, blueberry, and cherry fillings wrapped in adorable shaped crusts, they delight both kids and adults alike. Easy to make and impressive to serve, they’re a must-try for your Halloween celebrations.

Ingredients
- 2 9-inch pie crusts – homemade or store-bought, cold
- ½ cup pumpkin puree
- 2 tablespoons brown sugar
- ¼ teaspoon pumpkin pie spice
- ¼ teaspoon ground cinnamon
- 1 egg, divided (yolk for pumpkin filling, white for egg wash)
- ¾ cup cherry pie filling
- ¾ cup blueberry pie filling
- ½ cup powdered sugar
- 2 tablespoons heavy whipping cream
Instructions
- Step 1: Preheat the oven to 400 °F and line two baking sheets with parchment paper.
- Step 2: In a small bowl, mix together pumpkin puree, brown sugar, pumpkin pie spice, ground cinnamon, and the egg yolk. Set aside.
- Step 3: In another small bowl, whisk the egg white with a splash of water to make an egg wash. Set aside.
- Step 4: On a lightly floured surface, roll out the pie dough to ⅛ to ¼ inch thickness.
- Step 5: Cut out 12 pumpkin shapes, 12 ghost shapes, and 4 mummy shapes from the dough. Collect scraps, form into a ball, and refrigerate to firm up.
- Step 6: Place 6 pumpkin shapes on the baking sheets and spoon 1 to 1½ tablespoons of pumpkin filling onto each.
- Step 7: Using a sharp knife, carve faces into the remaining 6 pumpkin shapes and place these on top of the filled ones. Crimp edges with a fork to seal.
- Step 8: Place 6 ghost shapes on the baking sheets and top each with 1 to 1½ tablespoons of blueberry pie filling.
- Step 9: Cut out 2 eyes with a small piping tip and 1 mouth with a larger tip in the remaining 6 ghost shapes. Place these on top and crimp edges to seal.
- Step 10: Arrange 4 mummy shapes on the baking sheets and add 1 to 1½ tablespoons of cherry pie filling to each.
- Step 11: Remove dough scraps from the fridge, roll out thinly, and cut into ¼ inch wide strips. Lay these strips across the mummies to mimic bandages. Re-cut the mummy shapes with an egg-shaped cutter, remove excess dough, and crimp edges.
- Step 12: Freeze all hand pies for 10 minutes to firm them up before baking.
- Step 13: Brush each hand pie lightly with egg wash, avoiding the filling, and bake for 15 to 25 minutes until golden and cooked through. Store-bought dough takes about 15-20 minutes; homemade takes closer to 20-25 minutes.
- Step 14: While pies bake, whisk powdered sugar and heavy cream until smooth to create a glaze. Set aside.
- Step 15: Immediately after baking, brush glaze on the ghosts and mummies. After 10 minutes, transfer the pies to a cooling rack and add 2 candy eyes to each mummy.
- Step 16: Allow the hand pies to cool completely before serving.
Tips & Variations
- Use store-bought pie crusts for a quicker version, or make your own for extra flakiness.
- Substitute the fruit fillings with your favorite jams or preserves for variety.
- Freeze hand pies before baking to help them hold their shape during cooking.
- Add a pinch of nutmeg to the pumpkin filling for extra warmth and spice.
- Use food-safe candy eyes to add personality to the mummies and ghosts.
Storage
Store cooled hand pies in an airtight container at room temperature for up to 2 days. To keep longer, refrigerate for up to 5 days or freeze before baking and then bake fresh. Reheat in a warm oven for 5–10 minutes to restore crispness.
How to Serve
Serve this delicious recipe with your favorite sides.
FAQs
Can I make these hand pies ahead of time?
Yes, you can prepare the pies and freeze them before baking. Bake from frozen, adding a few extra minutes to the baking time.
What can I use if I don’t have pumpkin pie spice?
Mix cinnamon, nutmeg, ginger, and cloves to substitute pumpkin pie spice. Approximately ¼ teaspoon cinnamon, ⅛ teaspoon each of nutmeg and ginger, and a pinch of cloves works well.
PrintHalloween Hand Pies Recipe

Celebrate Halloween with these spooky and delicious Halloween Hand Pies, featuring festive pumpkin, ghost, and mummy shapes filled with pumpkin, blueberry, and cherry pie fillings. Perfectly golden and flaky, these hand pies are a fun and festive treat for the season.
- Prep Time: 30 minutes
- Cook Time: 15-25 minutes
- Total Time: 55 minutes
- Yield: 16 hand pies (6 pumpkins, 6 ghosts, 4 mummies) 1x
- Category: Dessert
- Method: Baking
- Cuisine: American
- Diet: Vegetarian
Ingredients
Dough
- 2 (9 inch) pie crusts – homemade or store-bought, cold
Fillings
- ½ cup pumpkin puree
- 2 tablespoons brown sugar
- ¼ teaspoon pumpkin pie spice
- ¼ teaspoon ground cinnamon
- 1 egg (yolk separated for filling, white for egg wash)
- ¾ cup cherry pie filling
- ¾ cup blueberry pie filling
Glaze
- ½ cup powdered sugar
- 2 tablespoons heavy whipping cream
Instructions
- Preheat Oven: Preheat your oven to 400 °F and prepare two baking sheets by lining them with parchment paper.
- Make Pumpkin Filling: In a small bowl, mix together pumpkin puree, brown sugar, pumpkin pie spice, ground cinnamon, and the egg yolk. Set this filling aside.
- Prepare Egg Wash: Whisk together the egg white and a splash of water in a separate small bowl. Set aside for brushing later.
- Roll Out Dough: On a lightly floured surface, roll out the two cold pie crusts to about ⅛ to ¼ inch thickness for easy cutting and folding.
- Cut Shapes: Cut out 12 pumpkin shapes, 12 ghost shapes, and 4 mummy shapes using cookie cutters. This will yield 6 complete pumpkins, 6 ghosts, and 4 mummies once assembled.
- Chill Dough Scraps: Gather the dough scraps, form into a ball, and chill in the refrigerator while you continue with fillings and assembly.
- Assemble Pumpkins: Place 6 pumpkin shapes on the baking sheets and add 1 to 1½ tablespoons of the pumpkin filling onto each. Using a sharp knife, cut pumpkin faces on the remaining 6 pumpkin shapes, place these on top, and crimp edges together with a fork.
- Assemble Ghosts: Place 6 ghost shapes on the baking sheets and spoon 1 to 1½ tablespoons of blueberry pie filling on each. Cut out eyes and mouths using piping tips on the remaining ghosts, place on top, and crimp edges together with a fork.
- Assemble Mummies: Put the 4 mummy shapes on the baking sheets, top with 1 to 1½ tablespoons of cherry pie filling. Roll out the chilled dough scraps to ⅛ inch thick, cut into ¼ inch strips, and arrange over the mummies in a bandage fashion. Re-cut mummy shapes with an egg-shaped cutter, remove excess dough, and crimp edges with a fork.
- Freeze Hand Pies: Place the assembled hand pies in the freezer for 10 minutes to firm up before baking, ensuring they hold shape.
- Brush Egg Wash: Gently brush the hand pies with the egg wash, avoiding the filling areas to get a golden color on the crust.
- Bake: Bake for 15 to 25 minutes until golden brown and cooked through. Store-bought pie dough usually bakes in 15 to 20 minutes; homemade dough may take 20 to 25 minutes.
- Make Glaze: While pies bake, mix powdered sugar and heavy whipping cream until smooth to create a glaze.
- Glaze and Decorate: Once out of the oven, immediately brush the glaze over the ghosts and mummies using a small brush. After 10 minutes, add 2 candy eyes to each mummy.
- Cool and Serve: Transfer the hand pies to a cooling rack and allow to cool completely before serving for best texture and flavor.
Notes
- Use store-bought pie crust for quicker prep; homemade crusts will require a longer bake time.
- Make sure the dough and filling are chilled to help maintain shape during assembly and baking.
- Be gentle when applying the egg wash to avoid getting it on the filling, which can burn.
- Allow pies to cool fully before serving to let the filling set and avoid burns.
- Decorate mummies with candy eyes after glazing and initial cooling for a fun finish.
Keywords: Halloween hand pies, pumpkin hand pies, ghost pies, mummy pies, spooky desserts, fall treats, pie crust recipe, holiday baking, festive desserts