Fluffernutter Bars Recipe
Introduction
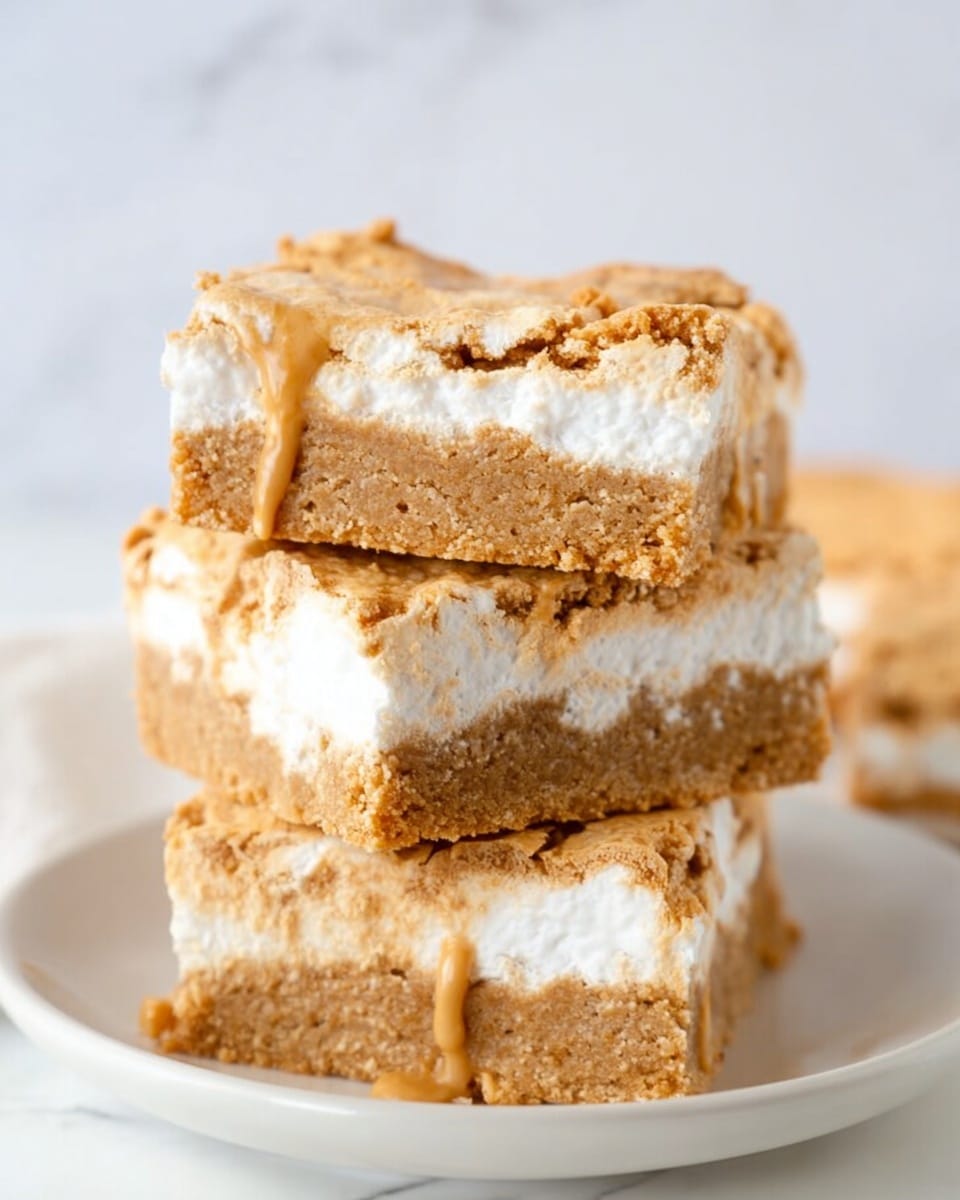
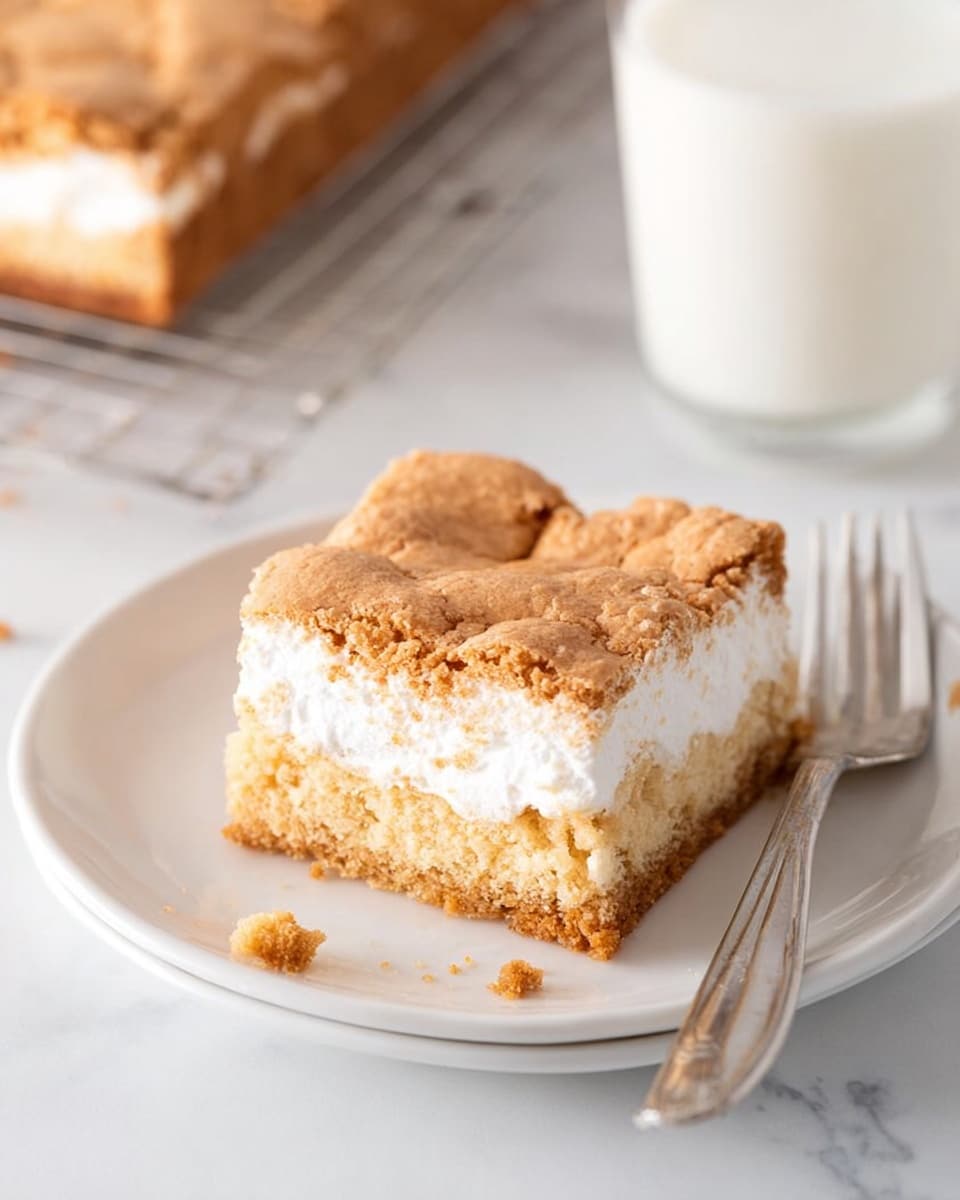
Fluffernutter Bars combine the classic flavors of peanut butter and marshmallow fluff into a rich, chewy treat that’s perfect for any occasion. These bars are easy to make and are sure to satisfy your sweet tooth with their soft, layered texture.
Ingredients
- 2 1/4 cups all-purpose flour
- 1 teaspoon baking powder
- 1/4 teaspoon salt
- 3/4 cup unsalted butter (softened)
- 3/4 cup brown sugar
- 1/3 cup white sugar
- 1 1/2 cups smooth peanut butter*
- 1 large egg
- 1 large egg yolk (in addition to the other egg, discard the white)
- 7 oz jar marshmallow fluff
Instructions
- Step 1: Preheat the oven to 350°F and position the oven rack in the middle.
- Step 2: Line a 9×13 inch pan with parchment paper, leaving an overhang on the edges, or use aluminum foil lightly greased.
- Step 3: In a medium bowl, whisk together the flour, baking powder, and salt.
- Step 4: In a large bowl, beat the softened butter with the brown sugar and white sugar until soft and creamy.
- Step 5: Beat in the peanut butter, then mix in the egg and egg yolk until smooth.
- Step 6: With the mixer on low, gradually add the flour mixture into the peanut butter mixture, about half at a time, mixing until combined.
- Step 7: Remove about 1 cup of the batter and set aside.
- Step 8: Press the remaining peanut butter dough evenly into the bottom of the prepared pan.
- Step 9: Bake this layer for 25 minutes, or until it looks fully set on top.
- Step 10: Remove the pan from the oven, keeping the oven on, and carefully spread the marshmallow fluff over the baked peanut butter layer.
- Step 11: Pinch off pieces from the reserved dough, flatten them slightly into 1-inch pieces, and place them over the marshmallow layer, covering about 80-90%.
- Step 12: Return the pan to the oven and bake for 10 minutes, or until the top peanut butter layer is set.
- Step 13: Remove from the oven and let cool at room temperature for at least 1 hour before slicing.
- Step 14: Use the parchment paper overhang to lift the bars out of the pan onto a cutting board.
- Step 15: Lightly grease a thin, sharp knife with non-stick cooking spray to prevent sticking, and slice the bars into pieces.
Tips & Variations
- Use smooth peanut butter for the creamiest texture, or try chunky for added crunch.
- To avoid the marshmallow fluff sticking to the knife, wipe the knife clean between slices.
- For a chocolate twist, drizzle melted chocolate over the bars after baking and cooling.
Storage
Store the Fluffernutter Bars in an airtight container at room temperature for up to 3 days, or refrigerate for up to a week. Reheat briefly in the microwave if desired to soften the marshmallow layer.
How to Serve
Serve this delicious recipe with your favorite sides.
FAQs
Can I use natural peanut butter for this recipe?
Natural peanut butter may affect the texture since it often contains more oil and less sugar. For the best results, use smooth, creamy peanut butter that’s not too oily.
Why do I need both an egg and an egg yolk?
The extra egg yolk adds richness and helps create a soft, tender texture in the bars, making them more moist and flavorful.
PrintFluffernutter Bars Recipe
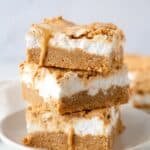
Fluffernutter Bars are a delightful layered treat featuring a soft peanut butter cookie base topped with gooey marshmallow fluff and scattered with extra peanut butter dough pieces. These bars combine rich, nutty flavors and sweet marshmallow in a chewy, satisfying bite, perfect for snack time or dessert lovers of all ages.
- Prep Time: 15 minutes
- Cook Time: 35 minutes
- Total Time: 1 hour 50 minutes
- Yield: 12 bars 1x
- Category: Dessert
- Method: Baking
- Cuisine: American
Ingredients
Dry Ingredients
- 2 1/4 cups all-purpose flour
- 1 teaspoon baking powder
- 1/4 teaspoon salt
Wet Ingredients
- 3/4 cup unsalted butter, softened
- 3/4 cup brown sugar
- 1/3 cup white sugar
- 1 1/2 cups smooth peanut butter
- 1 large egg
- 1 large egg yolk (discard the white)
Topping
- 7 oz jar marshmallow fluff
Instructions
- Preheat the oven: Set your oven to 350°F (175°C) and position the rack in the middle to ensure even baking.
- Prepare the baking pan: Line a 9×13 inch pan with parchment paper, leaving an overhang for easy removal, or alternatively use aluminum foil lightly greased to prevent sticking.
- Mix dry ingredients: In a medium bowl, whisk together the flour, baking powder, and salt until well combined.
- Cream butter and sugars: In a large bowl, beat the softened butter, brown sugar, and white sugar until the mixture is soft and fluffy.
- Add peanut butter and eggs: Beat in the peanut butter until smooth, then mix in the whole egg and additional egg yolk until fully incorporated.
- Combine dry and wet mixtures: With the mixer on low speed, gradually mix the flour mixture into the peanut butter mixture in two halves, ensuring an even batter without overmixing.
- Reserve some dough: Remove about 1 cup of batter and set aside for later topping.
- Form the base layer: Press the remaining dough evenly into the bottom of the prepared pan to create a uniform base layer.
- Bake base layer: Bake in the preheated oven for 25 minutes, or until the top looks fully set and slightly firm to the touch.
- Add marshmallow topping: Remove the pan from the oven and keep the oven on. Carefully spread the entire jar of marshmallow fluff evenly across the warm peanut butter base.
- Top with reserved dough: Pinch the reserved peanut butter dough into approximately 1-inch pieces, flatten slightly, and scatter them over the marshmallow layer to cover about 80-90% of the surface.
- Bake final layer: Return the pan to the oven and bake for an additional 10 minutes, or until the peanut butter dough pieces on top are set and slightly golden.
- Cool the bars: Remove the pan from the oven and allow the bars to cool at room temperature for at least 1 hour, enabling the layers to firm up for clean slicing.
- Slice and serve: Lift the bars from the pan using the parchment overhang onto a cutting board. Lightly grease a thin, sharp knife with non-stick spray to prevent sticking, then slice into bars of your preferred size.
Notes
- Make sure to soften the butter properly to achieve a smooth batter texture.
- If you don’t have parchment paper, aluminum foil with light greasing works as an alternative to avoid sticking.
- Using a sharp knife sprayed with non-stick spray helps to get clean slices without the marshmallow fluff sticking.
- You can substitute smooth peanut butter with natural peanut butter, but expect a slightly different texture.
- Store leftover bars in an airtight container at room temperature for up to 3 days or refrigerate for longer freshness.
Keywords: Fluffernutter Bars, peanut butter bars, marshmallow dessert, layered bars, easy dessert, peanut butter cookie bars