Dill Pickle Chex Mix: A Tangy Snack Sensation Recipe
Introduction
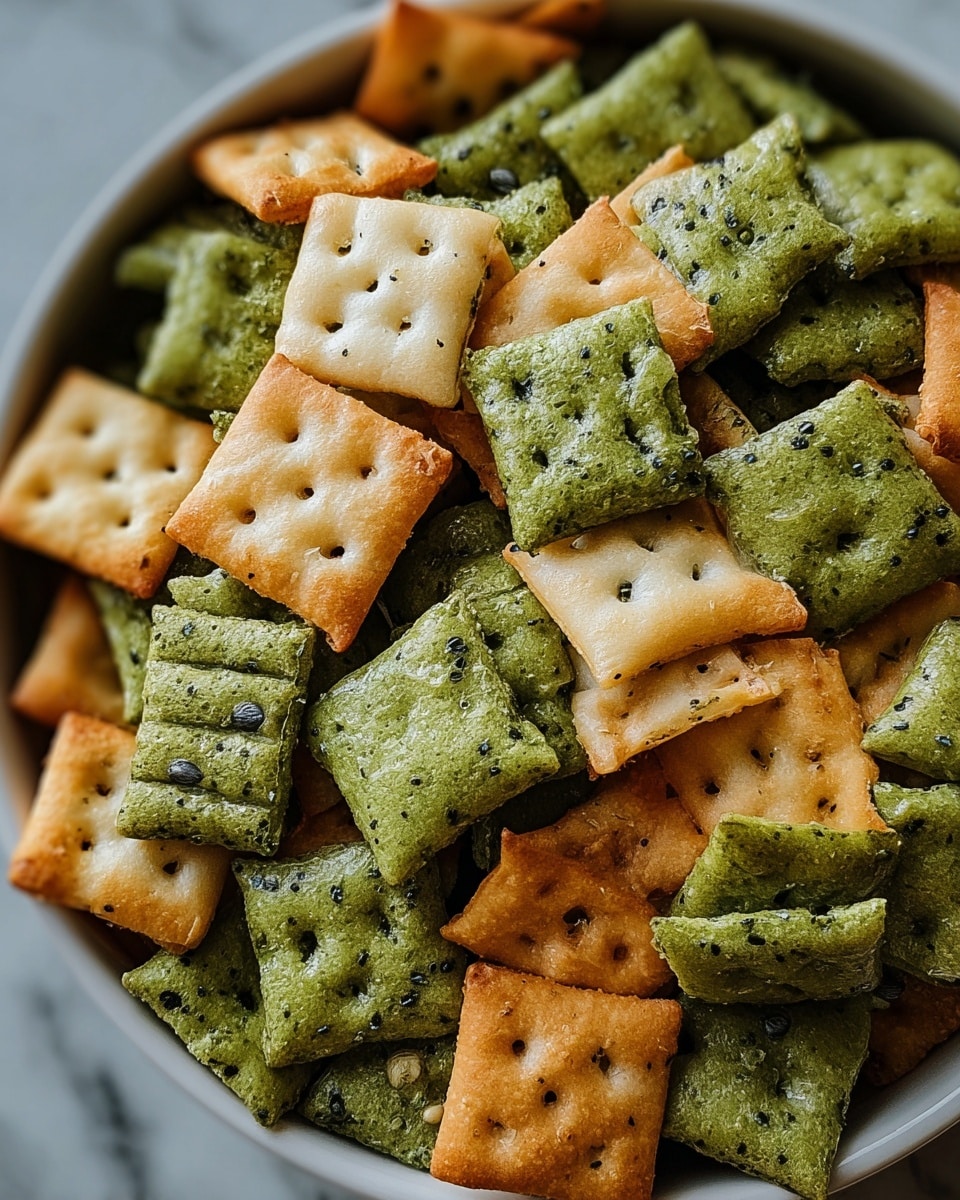
Dill Pickle Chex Mix is a tangy and crunchy snack that’s perfect for parties or anytime cravings strike. Combining the zesty flavor of dill pickle with the satisfying crunch of cereal, pretzels, and nuts, this mix is a flavorful twist on a classic favorite.
Ingredients
- 4 cups Rice Chex cereal
- 4 cups Corn Chex cereal
- 2 cups pretzels (mini twists or sticks)
- 1 cup cashews (or any other nut of your choice)
- 1/4 cup dill pickle juice
- 1/4 cup melted butter
- 1 teaspoon garlic powder
- 1 teaspoon onion powder
- 1/2 teaspoon dill weed
- 1/4 teaspoon salt (optional)
- 1/4 teaspoon black pepper
- 1 tablespoon dill pickle seasoning (optional, for extra flavor)
Instructions
- Step 1: Preheat your oven to 250°F (120°C).
- Step 2: In a large mixing bowl, combine the Rice Chex cereal, Corn Chex cereal, pretzels, and cashews. Stir until everything is evenly mixed.
- Step 3: In a separate small bowl, whisk together the melted butter, dill pickle juice, garlic powder, onion powder, dill weed, salt, black pepper, and dill pickle seasoning if using.
- Step 4: Pour the butter mixture over the Chex mix and gently stir to coat all the pieces evenly.
- Step 5: Spread the mixture evenly on a baking sheet lined with parchment paper or a silicone baking mat.
- Step 6: Bake the Chex mix in the preheated oven for about 45 minutes, stirring every 15 minutes to ensure even cooking and prevent burning.
- Step 7: Once the mix is golden and crispy, remove it from the oven and let it cool completely on the baking sheet.
- Step 8: Store the cooled Dill Pickle Chex Mix in an airtight container at room temperature.
Tips & Variations
- For extra tanginess, add a tablespoon of dill pickle seasoning before baking.
- Swap cashews for almonds, peanuts, or walnuts based on your preference.
- Use gluten-free pretzels to make this snack gluten-free.
- Stir in some Parmesan cheese after baking for a cheesy twist.
Storage
Store the Dill Pickle Chex Mix in an airtight container at room temperature for up to 2 weeks. To keep it crispy, avoid sealing it while still warm. If it softens, you can re-crisp it by spreading the mix on a baking sheet and warming it in a 250°F (120°C) oven for 5–10 minutes.
How to Serve
Serve this delicious recipe with your favorite sides.
FAQs
Can I use other types of nuts in this recipe?
Yes, you can substitute cashews with almonds, peanuts, walnuts, or any nut you prefer. Just use the same quantity.
Is dill pickle juice necessary for the flavor?
Dill pickle juice is key to achieving the tangy, authentic pickle flavor. If you don’t have any, you can try using a mix of vinegar and dill weed, but the taste won’t be quite the same.
PrintDill Pickle Chex Mix: A Tangy Snack Sensation Recipe

Dill Pickle Chex Mix is a tangy, crunchy snack featuring a zesty blend of Rice and Corn Chex cereals, pretzels, and cashews coated in a flavorful dill pickle seasoning mixture. Baked to crispy perfection, this easy-to-make snack is perfect for gatherings, game days, or anytime you crave a savory, tangy treat.
- Prep Time: 10 minutes
- Cook Time: 45 minutes
- Total Time: 55 minutes
- Yield: Approximately 12 cups 1x
- Category: Snack
- Method: Baking
- Cuisine: American
- Diet: Vegetarian
Ingredients
Cereals and Snacks
- 4 cups Rice Chex cereal
- 4 cups Corn Chex cereal
- 2 cups pretzels (mini twists or sticks)
- 1 cup cashews (or any other nut of your choice)
Seasoning Mix
- 1/4 cup dill pickle juice
- 1/4 cup melted butter
- 1 teaspoon garlic powder
- 1 teaspoon onion powder
- 1/2 teaspoon dill weed
- 1/4 teaspoon salt (optional)
- 1/4 teaspoon black pepper
- 1 tablespoon dill pickle seasoning (optional, for extra flavor)
Instructions
- Preheat Oven: Preheat your oven to 250°F (120°C) to prepare for baking the Chex mix evenly and slowly, ensuring crispiness without burning.
- Combine Dry Ingredients: In a large mixing bowl, combine the Rice Chex cereal, Corn Chex cereal, pretzels, and cashews. Stir thoroughly to mix all the snack components evenly.
- Make Seasoning Mixture: In a separate small bowl, whisk together the melted butter, dill pickle juice, garlic powder, onion powder, dill weed, salt, black pepper, and optional dill pickle seasoning until well blended.
- Coat the Mix: Pour the seasoning mixture over the combined cereals and nuts, and gently stir to evenly coat every piece with the tangy dill pickle flavor.
- Arrange on Baking Sheet: Spread the coated Chex mix evenly on a baking sheet lined with parchment paper or a silicone baking mat, ensuring a single layer for even baking.
- Bake and Stir: Bake in the preheated oven for about 45 minutes. Stir the mix every 15 minutes to prevent burning and to ensure uniform crispiness and flavor absorption.
- Cool Completely: Remove the mix from the oven once golden and crispy. Let it cool completely on the baking sheet to allow it to crisp up further.
- Storage: Store the cooled Dill Pickle Chex Mix in an airtight container at room temperature for up to 2 weeks, keeping it fresh and crunchy.
Notes
- For a spicier snack, add a pinch of cayenne pepper or red pepper flakes to the seasoning mix.
- Swap cashews with almonds, peanuts, or walnuts depending on your preference or dietary needs.
- If you prefer less salt, omit the optional salt and use low-sodium pretzels.
- Dill pickle seasoning can typically be found in the spice aisle or specialty stores; omit if unavailable and increase dill weed slightly.
- Ensure to stir the mix during baking to avoid burning and achieve even flavor coating and crispiness.
- Allow the mix to cool completely before storing to keep the texture crunchy.
Keywords: Dill Pickle Chex Mix, Tangy snack, Chex mix recipe, Dill pickle seasoning, Savory snack, Party snack, Crunchy snack