Salted Caramel Gooey Butter Bars Recipe
Introduction
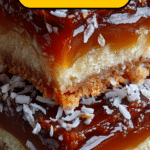
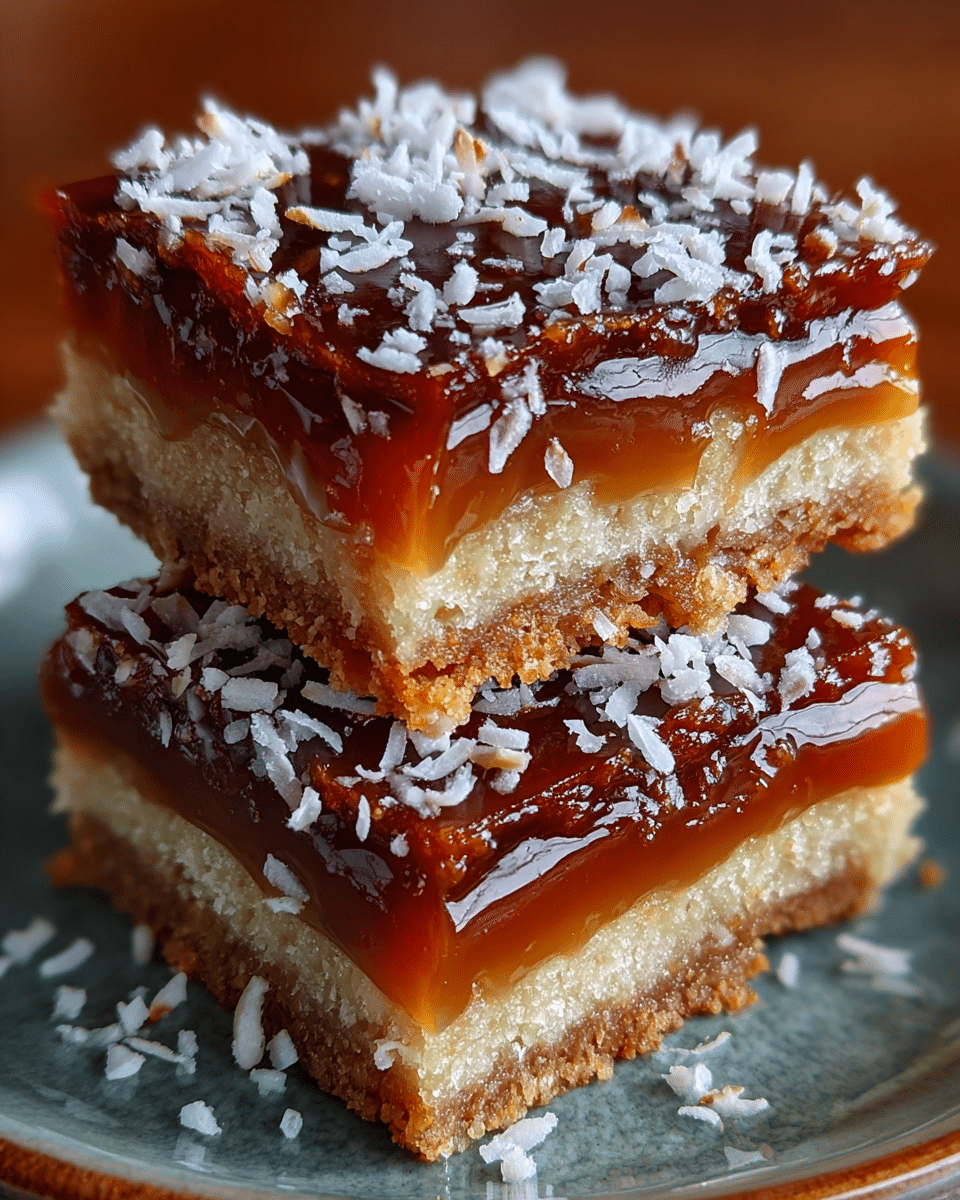
These Salted Caramel Gooey Butter Bars are a perfect blend of rich caramel and buttery sweetness with a tender crumb. They offer a gooey, melt-in-your-mouth texture that’s sure to satisfy any sweet tooth. Ideal for sharing or indulging, these bars combine classic flavors in a delightful treat.
Ingredients
- 1/4 cup water
- 1 cup sugar (for caramel)
- 6 tablespoons unsalted butter (cut into tablespoon-sized pieces, for caramel)
- 1/2 cup heavy whipping cream (room temperature)
- 1/4 teaspoon salt
- 1 cup all-purpose flour (for crust)
- 3 tablespoons sugar (for crust)
- 5 tablespoons unsalted butter (cold and cut into tablespoon-sized pieces, for crust)
- 3/4 cup sugar (for batter)
- 3/4 cup unsalted butter (room temperature, for batter)
- 1/4 cup light corn syrup
- 1 large egg
- 1 cup all-purpose flour (for batter)
- 2/3 cup evaporated milk
Instructions
- Step 1: Prepare the salted caramel by combining the water and 1 cup sugar in a saucepan over medium heat. Stir until the sugar dissolves, then let the mixture boil until it reaches an amber color. Remove from heat and carefully add the 6 tablespoons butter and heavy cream, stirring until smooth. Stir in the salt and set aside to cool slightly.
- Step 2: Preheat your oven to 350°F (175°C). In a mixing bowl, combine 1 cup flour and 3 tablespoons sugar. Add the cold 5 tablespoons butter and blend it using your fingers or a pastry cutter until the mixture becomes crumbly. Press this crumb mixture evenly into a greased 9×13 inch baking pan to form the crust.
- Step 3: In another large bowl, beat the room temperature 3/4 cup butter with 3/4 cup sugar until fluffy. Mix in the corn syrup and egg until fully combined. Gradually add 1 cup flour and the evaporated milk, mixing until smooth.
- Step 4: Pour the batter evenly over the crust. Drizzle half of the prepared salted caramel over the top. Bake the bars for about 50 minutes, or until the center is slightly jiggly but mostly set. Allow the bars to cool completely before cutting them into squares. Drizzle with the remaining caramel before serving.
Tips & Variations
- For an extra rich flavor, sprinkle a pinch of flaky sea salt over the bars before baking to enhance the salted caramel taste.
- Use room temperature ingredients where noted to ensure even mixing and a better texture.
- Try swapping evaporated milk with whole milk for a lighter version, though the texture may be less creamy.
- To make cleanup easier, line your baking pan with parchment paper, leaving an overhang for easy removal of the bars.
Storage
Store the bars in an airtight container at room temperature for up to 3 days or in the refrigerator for up to a week. Reheat gently in the microwave for about 10 seconds if you prefer them warm, but they are also delicious served chilled.
How to Serve
Serve this delicious recipe with your favorite sides.
FAQs
Can I make salted caramel ahead of time?
Yes, the salted caramel can be made up to a week in advance and stored in an airtight container in the refrigerator. Warm it slightly before drizzling over the bars.
What if I don’t have evaporated milk?
You can substitute an equal amount of whole milk mixed with a tablespoon of powdered milk for a similar richness, though evaporated milk gives the best texture and flavor.
PrintSalted Caramel Gooey Butter Bars Recipe
These Salted Caramel Gooey Butter Bars feature a buttery crumb crust topped with a rich, moist filling and homemade salted caramel sauce. The perfect blend of sweet and salty flavors results in an irresistibly gooey dessert bar that’s great for any occasion.
- Prep Time: 20 minutes
- Cook Time: 50 minutes
- Total Time: 1 hour 10 minutes
- Yield: 12 bars 1x
- Category: Dessert
- Method: Baking
- Cuisine: American
Ingredients
Salted Caramel
- 1/4 cup water
- 1 cup sugar
- 6 tablespoons unsalted butter, cut into tablespoon-sized pieces
- 1/2 cup heavy whipping cream, room temperature
- 1/4 teaspoon salt
Crust
- 1 cup all-purpose flour
- 3 tablespoons sugar
- 5 tablespoons unsalted butter, cold and cut into tablespoon-sized pieces
Filling
- 3/4 cup sugar
- 3/4 cup unsalted butter, room temperature
- 1/4 cup light corn syrup
- 1 large egg
- 1 cup all-purpose flour
- 2/3 cup evaporated milk
Instructions
- Make the Salted Caramel: Combine water and sugar in a medium saucepan over medium heat, stirring until sugar dissolves. Allow the mixture to boil until it turns an amber color. Remove from heat and quickly stir in the butter and room temperature heavy cream until smooth. Add salt and set aside to cool.
- Prepare the Crust: Preheat oven to 350°F (175°C). In a mixing bowl, combine 1 cup flour and 3 tablespoons sugar. Cut in the cold butter using a pastry cutter or fingers until the mixture resembles coarse crumbs. Press evenly into a greased 9×13 inch baking pan.
- Mix the Filling: In another bowl, beat the room temperature butter with sugar until fluffy. Add the corn syrup and egg and mix until combined. Gradually add the 1 cup flour and evaporated milk, mixing well to achieve a smooth batter.
- Assemble and Bake: Pour the filling batter evenly over the prepared crust. Drizzle half of the cooled salted caramel over the top. Bake for approximately 50 minutes, or until the center is slightly jiggly but mostly set.
- Cool and Finish: Allow bars to cool completely in the pan. Drizzle the remaining salted caramel over the cooled bars before cutting into squares and serving.
Notes
- Use room temperature ingredients where specified for better mixing and texture.
- Be careful when making caramel as the hot sugar mixture can cause burns.
- Cooling the bars completely helps the filling set properly for neat cutting.
- You can store leftovers covered at room temperature for 2 days or refrigerate for up to a week.
Keywords: Salted caramel bars, gooey butter bars, caramel dessert, homemade caramel, rich dessert bars, easy dessert recipe